User Guide
User Guide
Last updated: June 13, 2026
Everything from setting up Sotto to using it every day. Hold a key and speak — that’s the heart of it. Let’s start with setup.
Getting started
Sotto runs on macOS 26 or later on an Apple Intelligence-capable Mac. Make sure Apple Intelligence is turned on in System Settings > Apple Intelligence & Siri.
-
Install
Open the downloaded DMG and drag Sotto into your Applications folder.
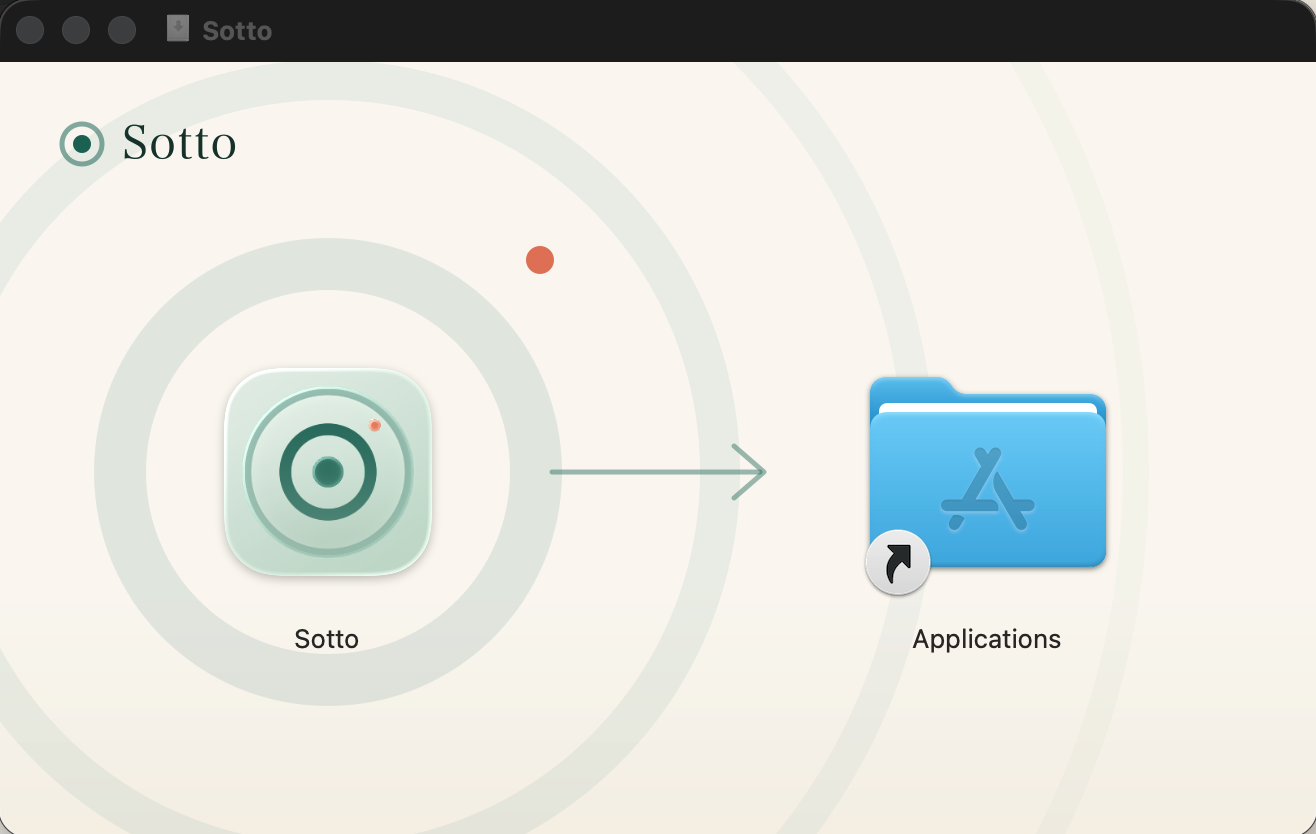
DMG window (drag to Applications) -
Allow microphone access
On first launch, macOS asks for permission to use the microphone. Choose “Allow” — it’s required for dictation.
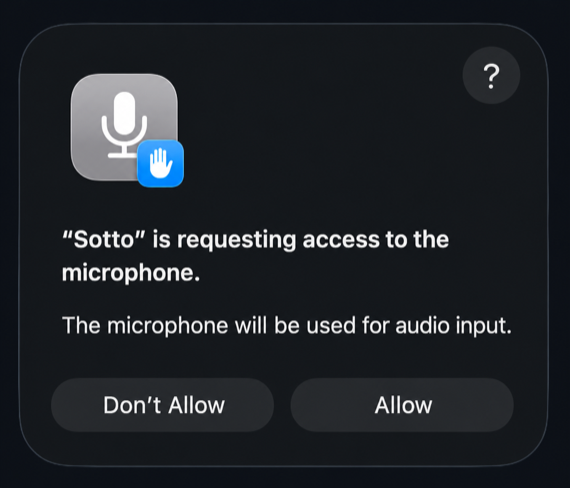
Microphone permission dialog -
Allow Accessibility
Accessibility permission is needed to detect the hotkey and insert refined text into your apps. Turn on Sotto in System Settings > Privacy & Security > Accessibility.
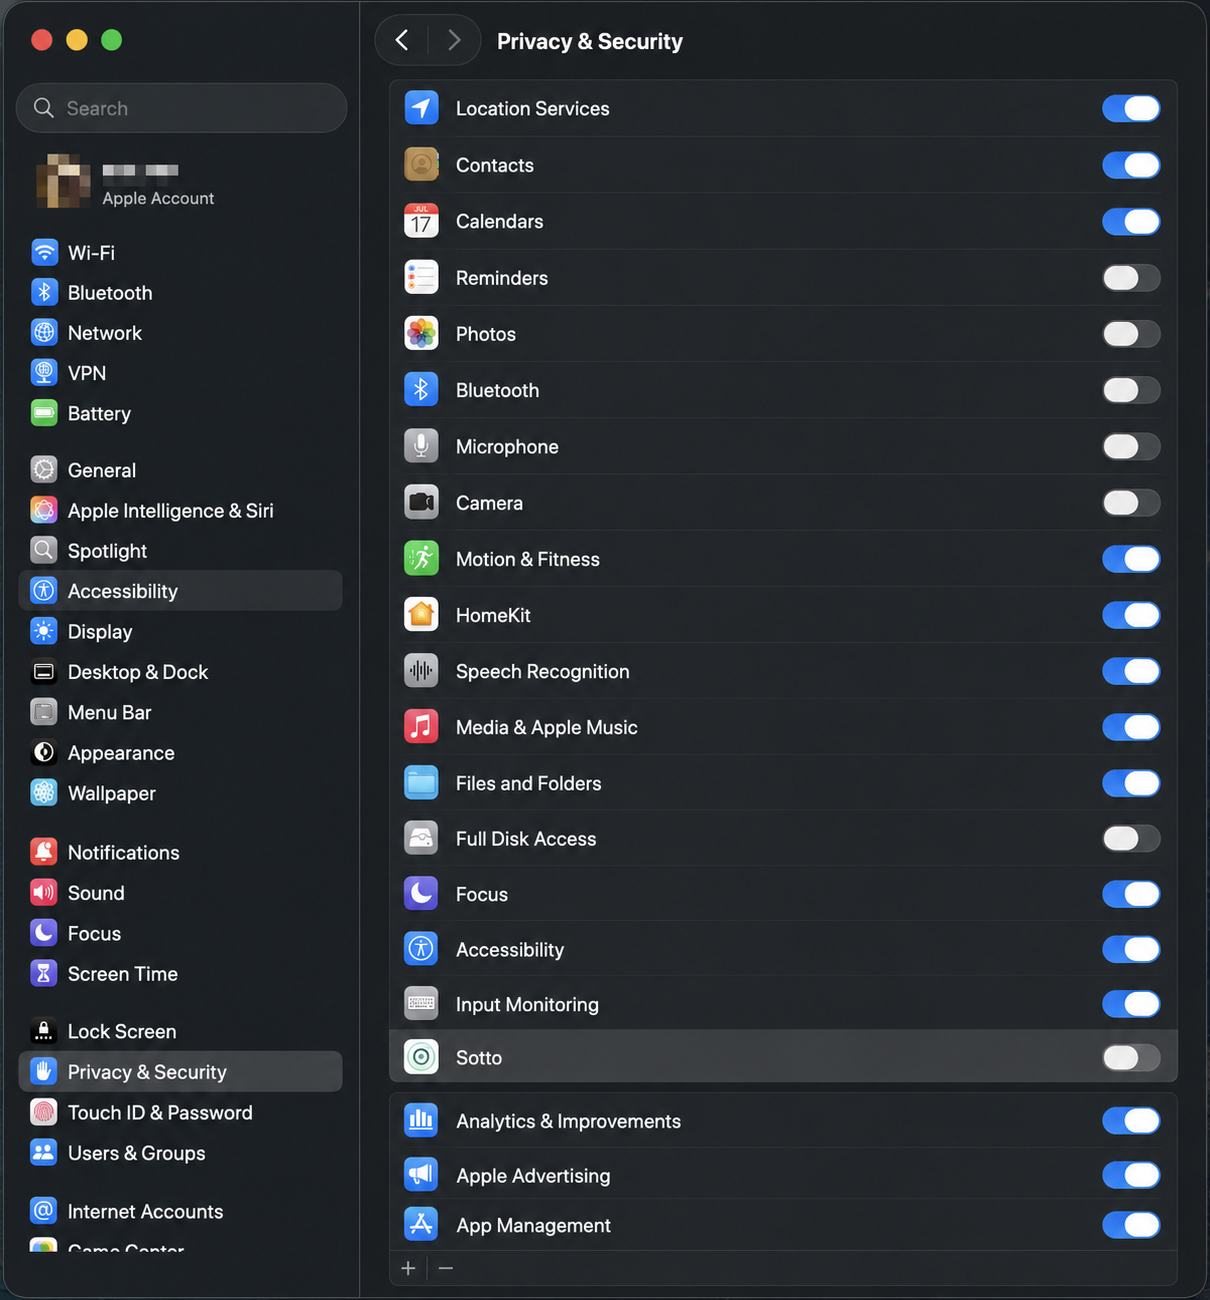
Accessibility pane in System Settings -
Find Sotto in the menu bar
Sotto lives in the menu bar, not the Dock. When you see the ripple icon, you’re ready to go.

Sotto icon in the menu bar
Everyday dictation
-
Place your cursor where you want text
Mail, notes, chat — anywhere you can type, Sotto can type for you.
-
Hold the hotkey and speak
Recording happens only while you hold the default hotkey. You can reassign it in Settings — even to a single key like Right ⌘, fn, or F13.
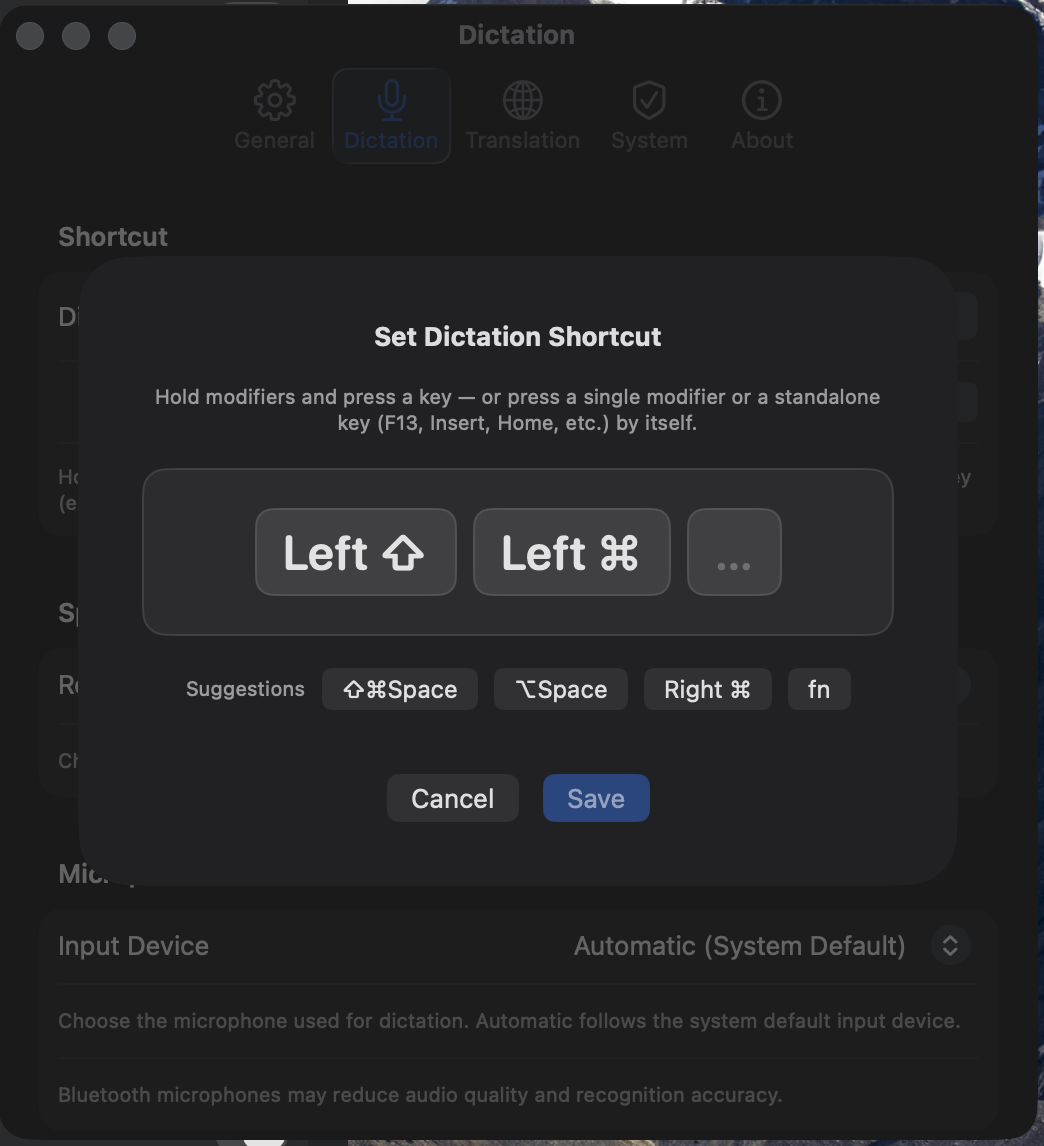
Hotkey settings (Settings > Dictation) -
Release the key
On-device AI strips the “um”s and false starts, polishes your speech into clean text, and inserts it at the cursor.
Settings
Click the Sotto icon in the menu bar and choose “Settings…” to open the settings window. There are five tabs.
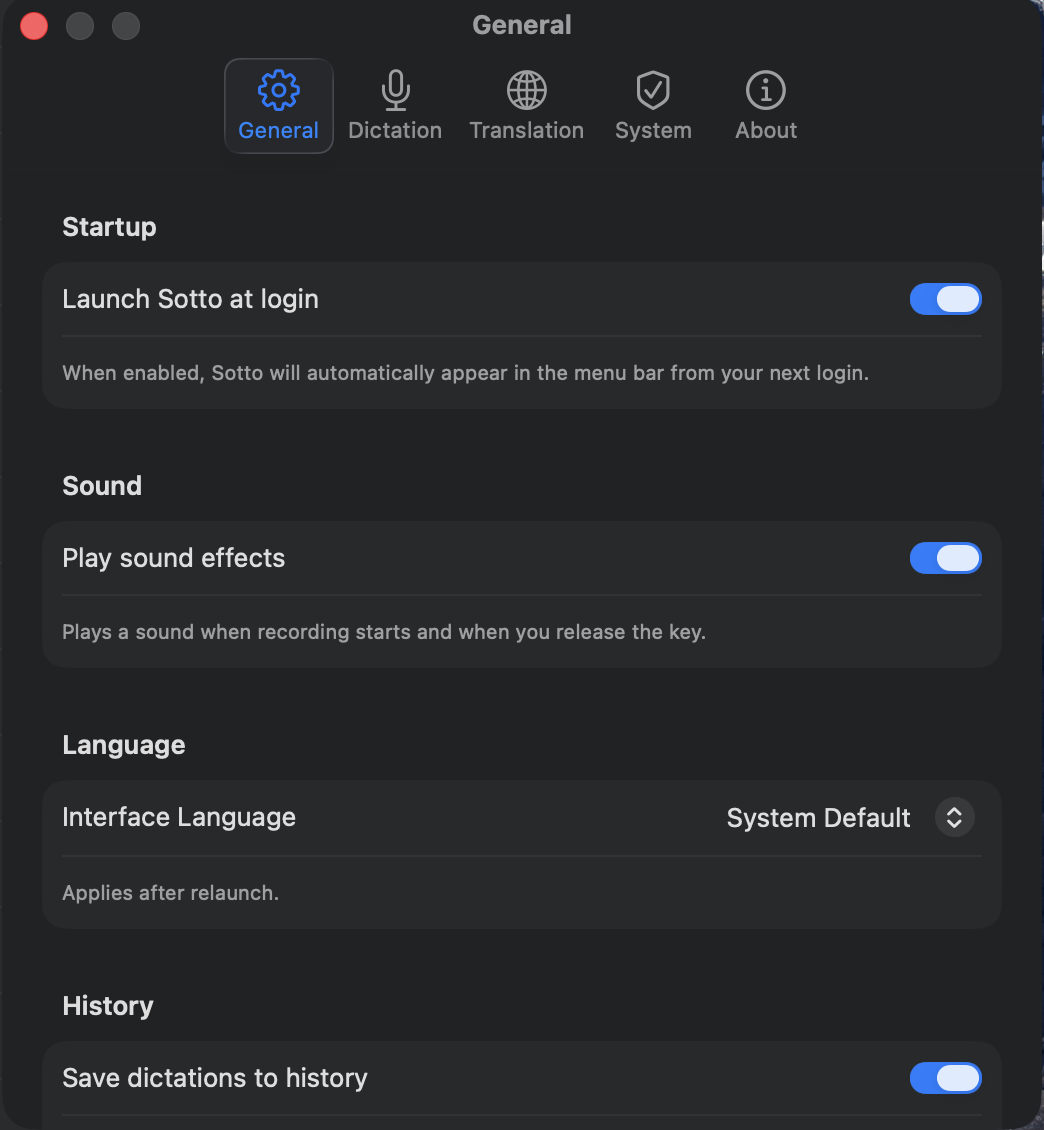
General
Launch at login, recording sound effects, and dictation history.
Dictation
Hotkey assignment, recognition language, and microphone selection.
Translation
Choose the target language for voice-command translation. Ten languages are supported: Japanese, English, Chinese (Simplified and Traditional), Korean, Spanish, French, German, Italian, and Portuguese (Brazil).
System
Check and fix the status of Apple Intelligence, microphone, and Accessibility permissions.
About
Version info and update checks.
Translate with a voice command
Translate selected text with a single spoken phrase. Both the translation and the command detection run entirely on your Mac.
-
Pick a target language
In Settings > Translation, choose the language to translate into (e.g. English).
-
Select the text you want to translate
Select text in any other app — your browser, Mail, anywhere.
-
Hold the hotkey and say “translate this”
Hold the same hotkey you use for dictation, say “translate this”, and release.
-
Review the result in the panel
A floating panel shows the original and the translation. Use “Copy” to copy the translation, and “Close” or the esc key to dismiss it.
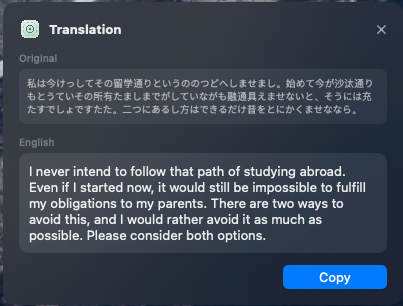
Floating translation panel
On-device AI treats only imperative phrases like “translate this” as translation commands. If you merely talk about translation — “the translation got better” — it’s inserted as normal dictation.
Troubleshooting
Permissions are granted but nothing happens
First, check that both Microphone and Accessibility are enabled for Sotto in System Settings > Privacy & Security.
If that doesn’t help, an update may have left stale permission records. Run the following in Terminal to reset them, then relaunch Sotto.
tccutil reset Accessibility
tccutil reset Microphone
The hotkey doesn’t respond
Make sure Accessibility permission is granted. If the hotkey conflicts with another app’s shortcut, reassign it in Settings > Dictation.
The translation panel doesn’t appear
Check that text is selected, your utterance is 60 characters or fewer, and a target language is set in Settings > Translation. Speak an imperative phrase like “translate this” so it’s recognized as a command.